If you have elements in your form that you use often, you can save them for use later in the Form Builder. This is called Predefined Content. You can save anything from individual fields to large sections with numerous fields and text and then easily add them to any form later with a couple of clicks.
Any element in your form can be added to the Predefined Content menu for future use. However, there are some commonly used elements that we will provide in this form! You can also learn more about Predefined Content in our Knowledge Base.
On each page of this form, we will have one category of Predefined Content. You can add Predefined Content to categories you already have available to you, or you can create new ones! We'll go over category creation in a moment.
If you click on the Outline view, you'll see a list of each of the pages, sections, and fields in this form. Click on it now before continuing with these instructions.
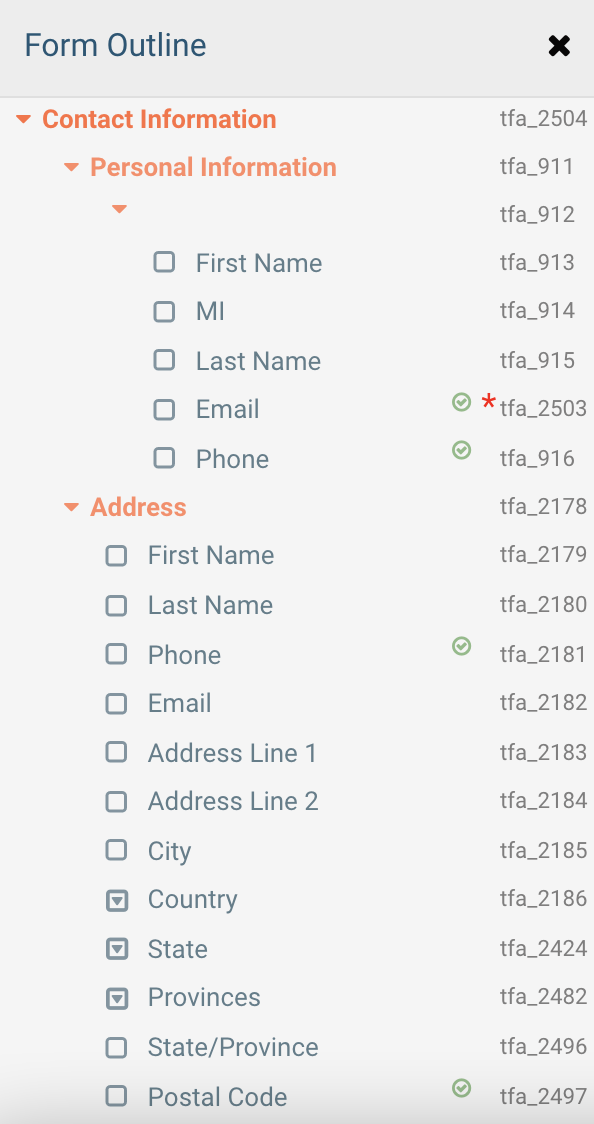
The sections furthest to the left in the Outline are pages, and then you'll see the sections inside each page indented and in a slightly lighter color. In this image, the page is named "Contact Information" and it has two sections: Personal Information and Address.
You can click on any section in the outline to continue adding it to your list of Predefined Content. For this example, please click on "Example Content" which will appear on the Outline under this page.
Please Note: Once Predefined Content has been added, it cannot be changed. You will need to delete it and then add a new element if you'd like to make any changes. Think of it like copy and pasting elements between forms! You'll need to "copy" (add) the element again once you've made changes before you can paste it with the newly edited details.
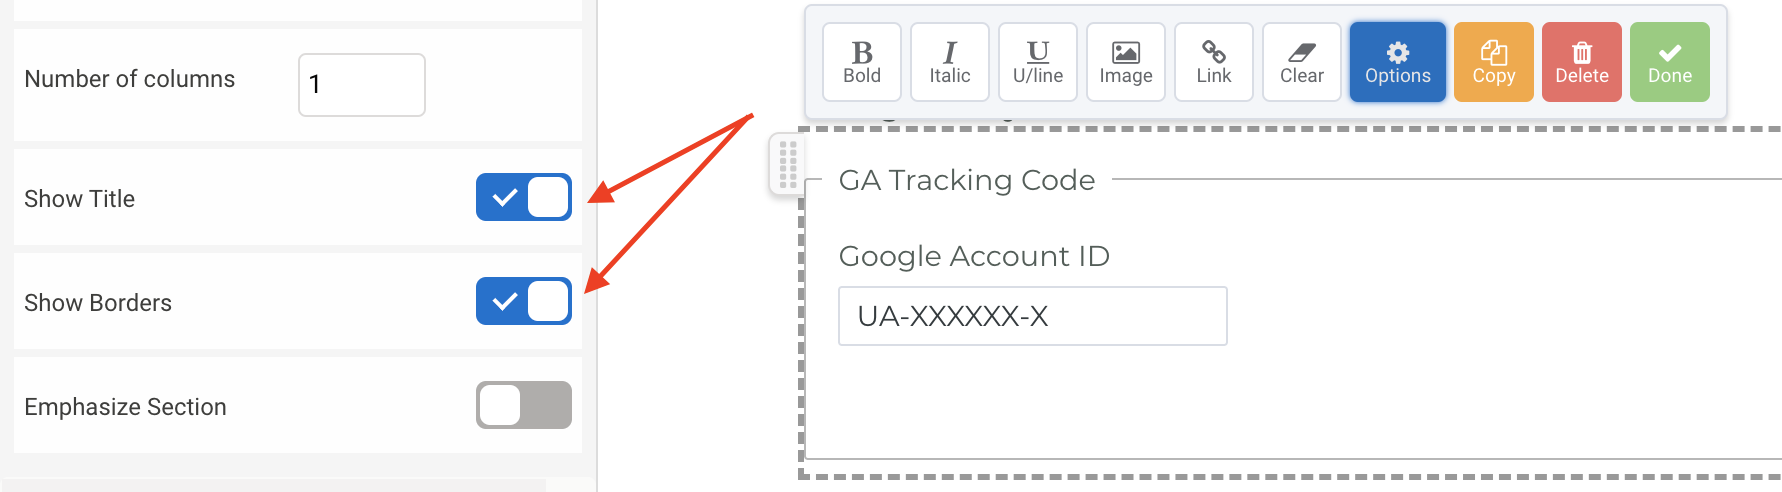
If you'd like to remove any of the borders or section titles before adding the Predefined Content, you can click on the section and then choose "Options" from the toolbar. Then remove the border and title for the section under the Presentation options:
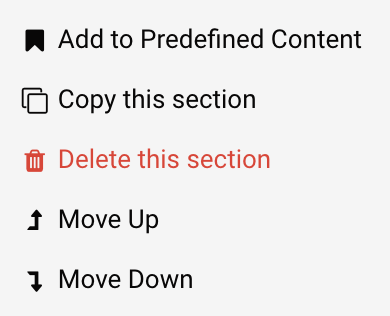
Once you have clicked on this section, you will see a toolbar appear. Click Options and then scroll down to the bottom of the menu. You will see an option to "Add to Predefined Content":
Click to add this section to your Predefined Content menu. You can now choose a name for your new element, provide an optional category, as well as an optional description, and click Save.
Please Note: The name of the section will be our recommendation for the name, but you can choose whatever you'd like! You can also type in the name of an existing category to add the new content there, type in a new category name to create additional options for the future, or leave the category blank to have the Predefined Content exist outside of any category folders.
Once you have clicked Save, this element will now be available in the Predefined Content menu.
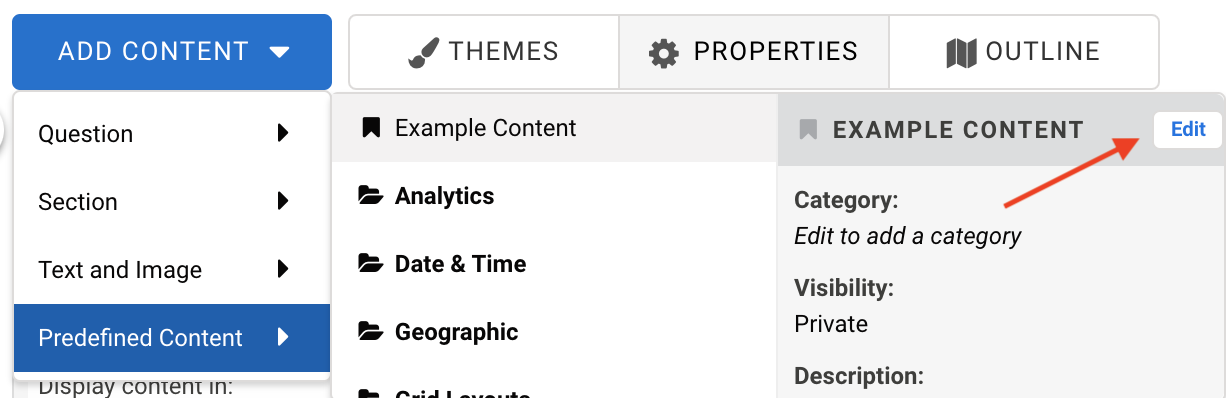
To delete the content that you've created, click Add Content > Predefined Content and then hover over your newly created content. From there you can click the Edit button.
In the box that appears, click the Delete button and then Delete again to confirm.
Now that you've had some practice, you can add any sections from this form to your Predefined Content. You can reach out to our Support team if you have any questions or run into issues!